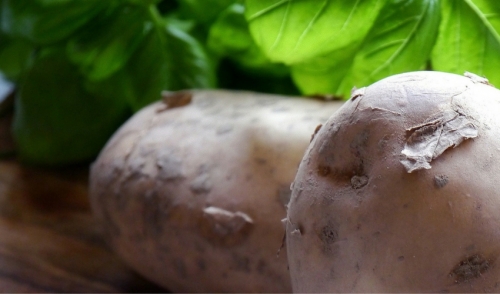
This hardy vegetable has been a culinary staple in our diet for a very long time. Potatoes are one of the best sides an individual can ask for with any meal. However, this same staple is overlooked by many backyard gardeners. The taste and quality of home-grown potatoes are ten times better than any store bought potatoes. This isn’t to say Idaho and the grocery store don’t have good potatoes, but nothing taste better than potatoes you grew yourself. Seed potatoes are pieces of a whole potato or a small potato with at least two eyes per piece. Follow this guide to learn how plant your own seed potatoes for a quality vegetable to have on your plate.
To grow your own potatoes, you must first prepare your site. Seed potatoes need to be planted in an open position in full sun within well drained and fertilized soil. Make sure to remove all weeds and dig the site deeper than normal while removing any large stones. In addition, avoid soil where potatoes have grown for two years or more in succession. This is to decrease the risk of disease from destroying your potatoes. Seed potatoes, especially the 'earlies' which are first early potatoes that are traditionally small with white flesh benefit from ‘chitting’ prior to being planted in the soil. During the early to late winter months, ‘chit’ your seed potatoes and lay them out in trays or egg cartons in a cool and frost free position to allow them to sprout. Don’t worry about cutting your seed potatoes too much. Even though the size can often vary, all of the potatoes will grow equally. If you have any doubts, keep in mind during World War 2, larger seed potatoes were often cut into more than one small piece without sacrificing the yield to support our troops. Let your potatoes set for a week or two to give them time to begin the sprouting process. For any seed potatoes smaller than the size of a golf ball, it’s ok to plant them as a whole. Just before planting, make sure all the cut surfaces have dried out to prevent rotting once the potato is planted.
Once your seed potatoes are ready, it’s best to always plant them in row, eye side up. Double-check to make sure your site allows for a trench that is 6-8 inches deep. Plant the potatoes every 12-15 inches with rows spaced at least 3 feet apart from each other. Fill the site with soil to cover the potatoes. You can also add an application of potato fertilizer along the top to help the growing process. Once your seed potatoes are planted take care of them by watering them regularly. Potatoes need constant moisture, especially in the beginning of their growth. During the flowering period, the plants are developing their tubers and a steady supply of water will be crucial to the outcome of your crop. You will also need to hill your crop to keep the potatoes from getting sunburned. Hill your potatoes every couple of weeks to protect your crop.
Planting times are largely dependent on weather, soil conditions and regional variations, but once your foliage turns yellow and begins to die back, you can discontinue watering. This will help prepare the potatoes for harvesting. Harvest your potatoes on a dry day. Digging should be fairly easy as the soil will already be loose. Just be careful not to puncture the tubers. Follow these tips and guide to planting seed potatoes in your own vegetable plot. Nothing is more satisfying than the taste of newly dug potato lifted out your own backyard.

Comments